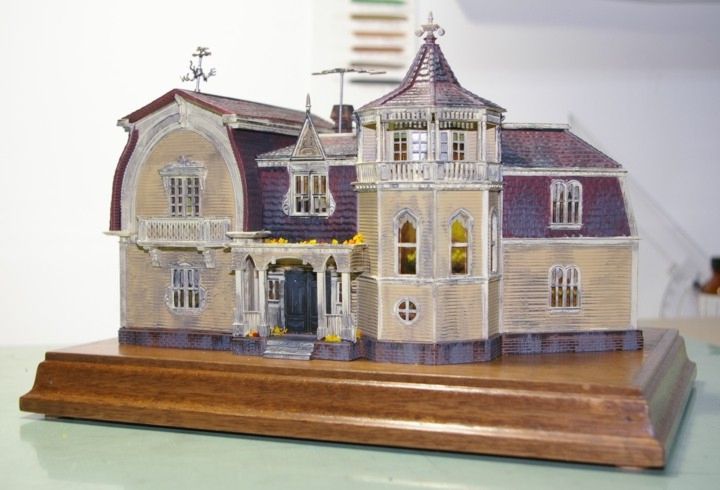
I have a friend who is a huge fan of television show like THE MUNSTERS. For Christmas in 2012, I decided to build for him as a gift and as a thank-you for the many courtesies he has extended me over the years the Moebius model kit of the house on 1313 Mockingbird Lane- the Munsters’ house.
Purchasing the model and bringing it home was the easy part. This is a Skill Level 3 model, and I haven’t finished a kit in over seven years! Many things have changed, particularly in the areas of paint and putty. In those areas, all changes have been for the better. However, it was a tall order to fill with a two week deadline, even with the better paints and putties, because this was not to be an ordinary model. It was to be mounted on a wooden display stand and rigged with LED lights.
Here’s how it happened. Moebius has included amazing window treatments for the kit. Each window has a photo acetate image of curtains, candles on the sill, broken blinds or other designs that look great when backlit. It seemed a shame to leave the model dark with these window treatments included. So, my father- who has more of a head for wiring than I- said he’d take on the job. He also offered to build an oak and plywood base for the model. I would handle the building of the kit itself and the painting that was required. We would then work together to rig the lights and mount the model on the kit base.
THE MODEL
The kit is beautiful. The details are intricate and the whole place reminds me of those captain’s houses you find in east coast fishing towns like Lunenburg, Nova Scotia. Moulded in gray plastic, it requires a lot of paint to cover the surface. I elected to do the whole thing by hand- no spray, thank-you. As the house in the television show is run down and spooky, a sparkling finish is not needed. However, more weathering than was recommended by Moebius is needed to prevent the model from looking like a tiny doll’s house. They suggested a light brown. I used flat black and a medium grey, sometimes with cleaning the brush in between coats to mess it up even more. If some think that was too much in theory, I suggest looking at run down houses on the coast. Unpainted wood often darkens over time as it rots. Grime and environmental damage often shows as dark staining rather than light.
The siding was a tan/cream colour, chosen from research on Google featuring computer generated images by artist Robert Rowe. He and Moebius used white trim on the house. I switched it to Aged White, with Roof Red, Building Brown, Deck Brown and Aluminum or Steel acrylic paint for the rest of the house. Testors Acrylics, Polly- S railway and hobby paints and Tamiya Acrylics were the manufacterers of the paint I used. Tamiya also made the body putty I used to fill light bleeds that are a problem with the model if one chooses to give it interior illumination.
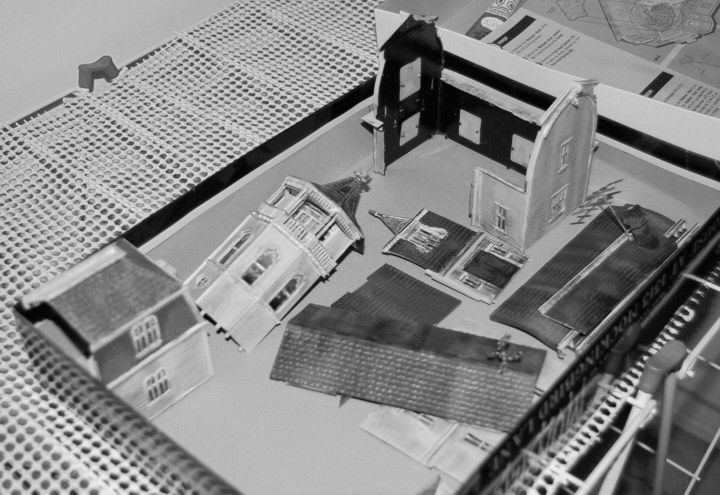
Above is a picture of the box with the sub-assemblies in it. Below is a picture I took while test fitting the front door. When it comes to final assembly, follow the instructions precisely and test fit everything to head off problems before they start. Note this kit becomes a lot harder as more plastic is glued down. Any twist along the way means big problems for the last pieces going in. It is unavoidable, however. You need to sub-assemble as much as you can first and then bring the modules together later. For me, it was the barn-like model wing without the roof sections, and tower and other wing which were the major sub-assemblies.
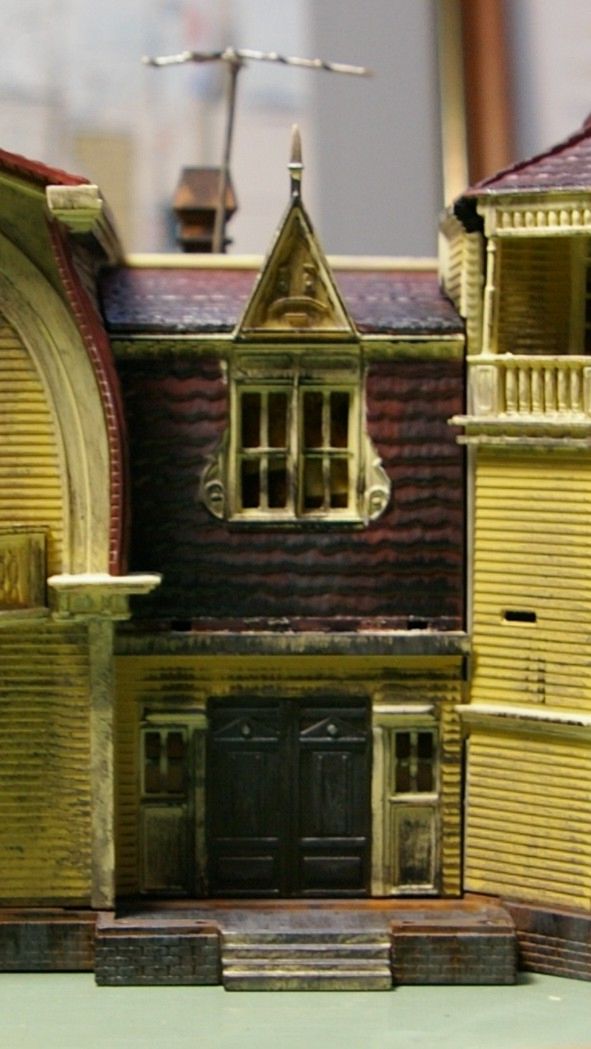
The overhang on the front steps and the details are added only during final assembly. The instructions say otherwise, but I found it didn’t work and had to pull everything apart and start again later.
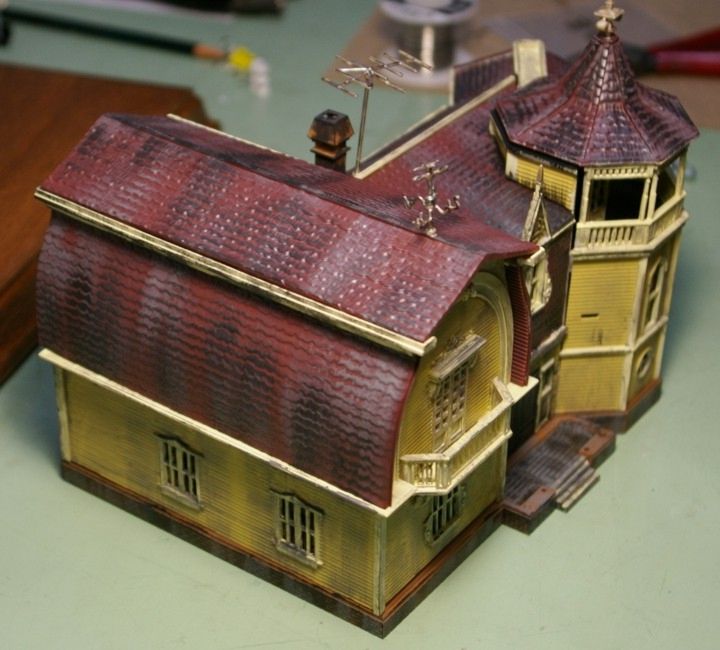
Above is a test fit. You can see the gap in the towed and the lack over overhang by the front door. Painting and weathering had to be done over as the model came together and putty was needed inside to fill gaps. Like most other jobs, though, it was no trouble. The basic structure of the model is such that I found it forgave my ham-fisted bumbling quite freely.
THE LIGHTS & STAND
Because LED lights were to be used, I painted the inside of the house aluminum to cut down on light bleed through the plastic and reflect light inside the model. Big mistake! Two heavy coats did nothing to make the plastic more opaque. Flat black is the only thing that works. Be prepared to use it for details as you fit the modules together and test them with the lights. Any joints or slots in the model have to be painted- rather sloppily- to ensure coverage and prevent light leaks. I literally did not finish painting until the last roof piece went on and the house was sealed in.
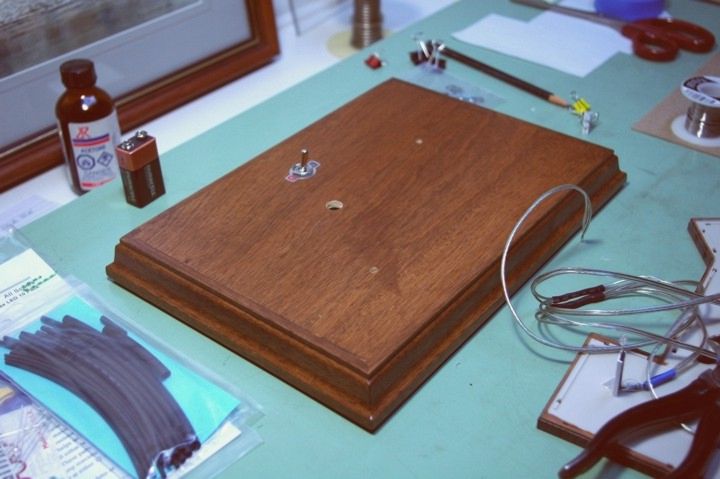
This is the stand my father built for the model.
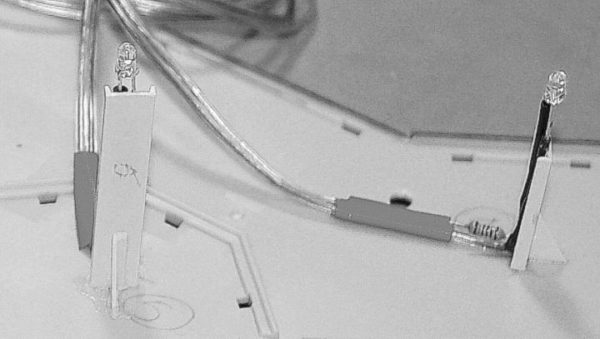
Here is the underside, with emphasis on the mounting for the 9V battery and wiring, shown in close up in the second picture in black and white.
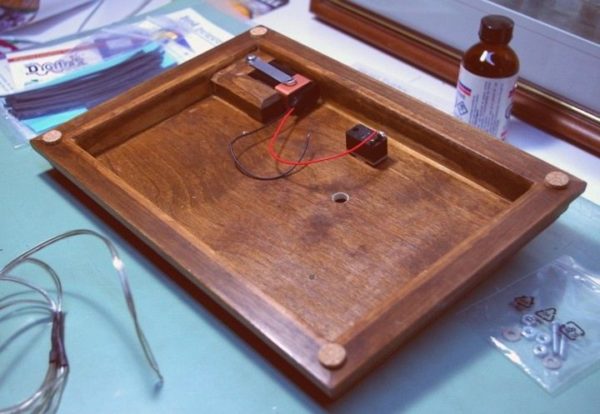
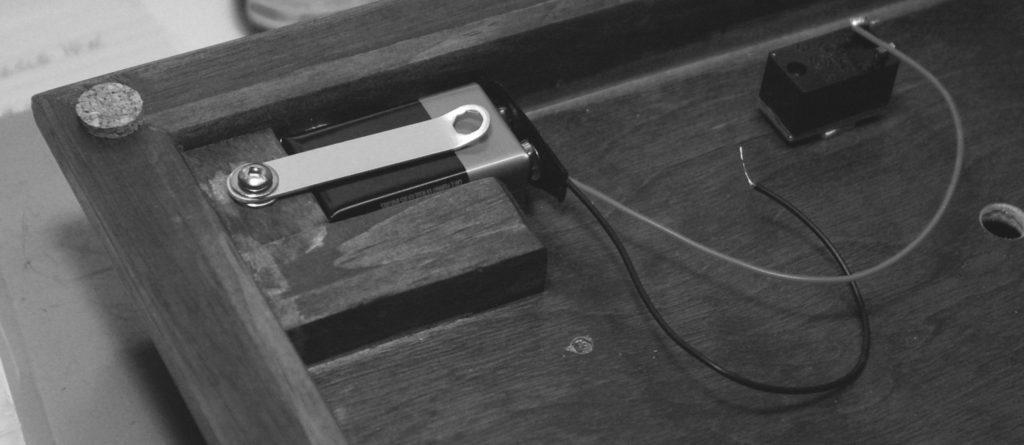
You can see the wiring used and the heat shrink wraps to help bind together the connections. Dad handled this part himself, as I have only lit one model before- Bandai’s ENTERPRISE NCC-1701-E. That kit had all the channels cut and wires linked up. It was simply a case of mounting them in their proper places and offering many prayers along the way. (Building that model was NOT a pleasant experience and it was the last kit I more or less finished for several years. Conicidence? I think not.) This model had nothing for rigging available. We did it all ourselves. Below is a black and white picture of the model stand with the lights set up and tools holding the wires in place.
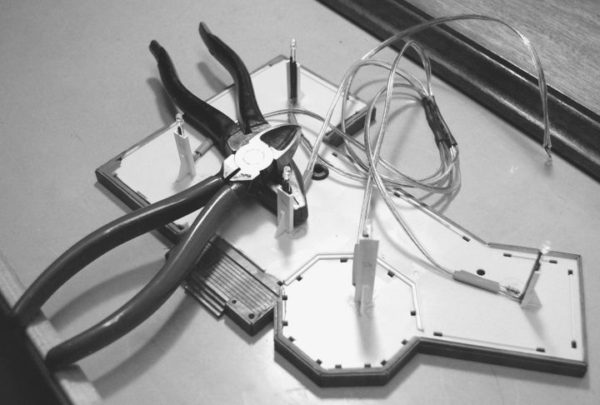
Channel-shaped styrene plastic I picked up to help with light bleed was used instead to make stands for the LED lights. It worked beautifully, giving both protection and strength to the mountings when final assembly took place and the inevitable bumps happened.
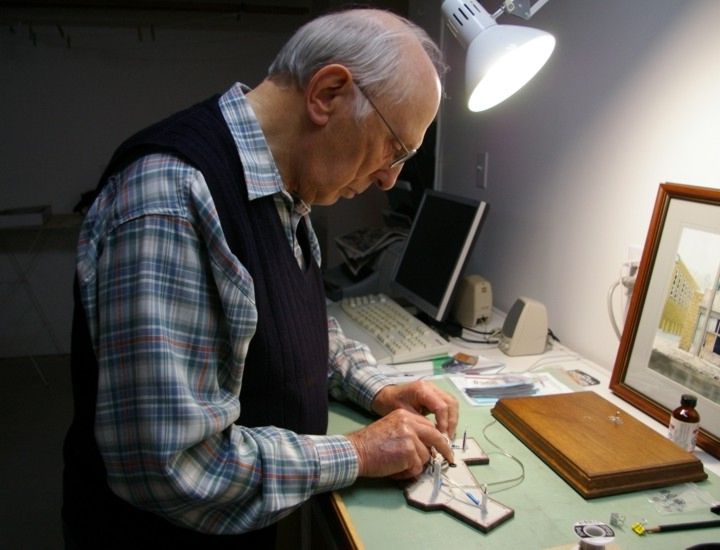
Here is my father securing one of the five lights used in the model. You can see the size of the kit is not huge- barely 11 inches on the base. One of his architectural watercolours is resting against the wall behind the wooden stand. You can view some of his artwork at www.bigartbuzz.com, using “Albert Seaman” as the search term.
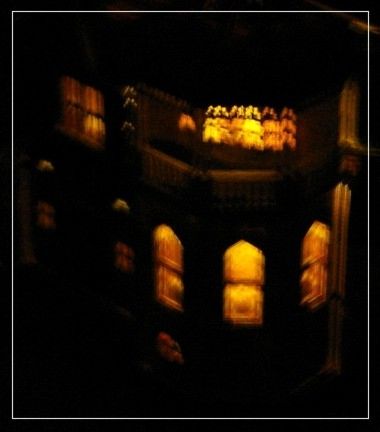
Below is a wobbly shot of the lights during a test fitting. Where is a tripod when you need one?
FINAL ASSEMBLY
The kit came together in about six hours, after all the other work had been done. There was a major problem with the final pieces going in; the whole of the East Wing being slightly twisted. The instructions call for the tower to go in first, followed by the front door and the West Wing, (the barn-like part of the house). I Started at the West Wing because I needed to check light bleeding as I went. In the tower, my father channeled a hole in the base at the back so we could install a light in the base. If you don’t light the house, just plonk the tower in as one piece, according to the instructions. It will likely make putting the house together easier. We did not have that ability, though, because of the lighting. Putty had to be applied constantly as the house came together, plugging little holes all over the joints. With the exception of some around the base of the roof on the tower and a couple of tiny slits on the West Wing, I pretty much got them all.
Now… back to the twist in the East Wing. I covered the unslightly mis-alignment with autumn leaves, also sprinkled around doorways and gutters on the model to give it an autumnal appearance. Considering the colours used, the leaves become the most colourful part of the whole dwelling. It still annoys me that this happened. Clearly, I messed up somewhere. But I’ll be darned if I can figure it out.
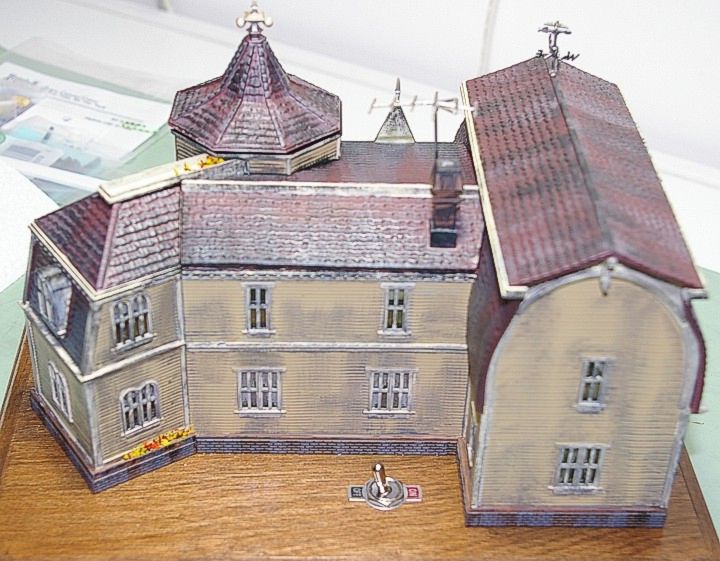
Here is the back of the house, with the switch for the lights and the leaves clearly visible. The back roof would not sit properly on the rear wall. Trimming and plastic reinforcement did little to help. In the end, I poured body putty in around the gutters as we joined the roof to the house and painted it up to blend in with the rest of the house. Fortunately, the house is supposed to be old and run down, so a precise finish was not required. But no light escaped, so it was worth it.
And here is 1313 Mockingbird Lane- finished. Scroll back to the top for another image of the front.
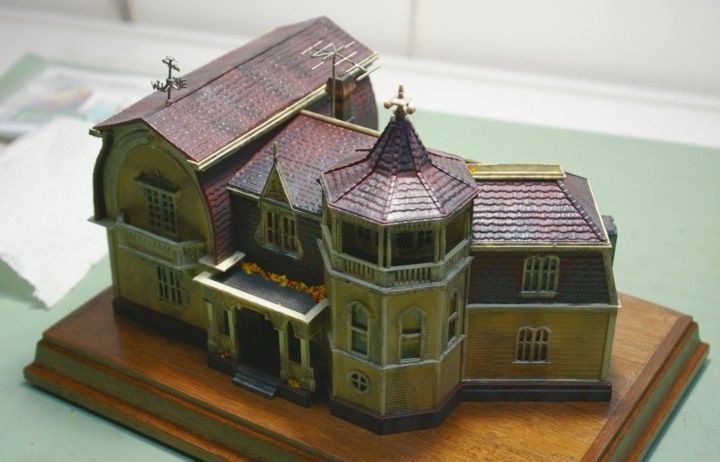
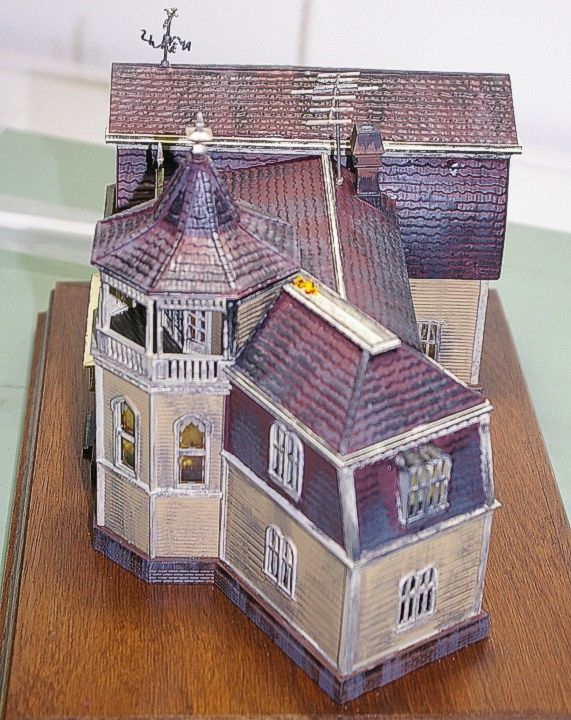
This model is built in HO scale, making it great for railway displays. Find appropriately scaled figures to add detail. Also, refer to Google, or www.cultTVman.com for images of other versions of the house. One writer suggested painting it in black, grey and white, because the show was aired that way. However, the recipient of the gift noted two feature films in colour were made and I opted to approximate the colours used in the films accordingly. Having since watched the series and the films and enjoyed them with a maturity I lacked when they first aired, I’m glad I went for the colour option as well.
This article and images are copyrighted C.A. Seaman, 2012, and may not be reproduced in any way without written permission from the author. The Munsters house is produced by Moebius Models, at P.O. Box 229372 Glenwood, FL 32722 or www.moebiusmodels.com, with acknowledgement to NBC Universal Television Consumer products. My thanks to them all for making a wonderful building experience for both my father and I.